Color-Tinted Skeleton Leaves

I’ve wanted to do this project for almost three
years now, but couldn’t figure out the right way to do it. I first saw
this when I was pregnant with my first son and was looking at the décor
in the doctor’s office. They were pressed between two pieces of
plexiglass and I thought it was the coolest thing ever! I didn’t know
what to call it when I went online to search how to even start making
these. I searched “clear leaves” and “see-through leaves” and the only
results I got were fake leaves made out of tulle and silk. I also found
leaves that were bleached. This wasn’t what I was looking for either. I
found out that these are called skeleton leaves. I guess the name makes
sense, since you’re actually getting down to the bones of the leaf.
What You Need: Waxy Leaves, Large Pot, Water (I used 12 Cups), Super Washing Soda (I used 2 Cups; Can be purchased in the laundry detergent aisle), Metal Tongs, Colander, Bleach, Shallow Dish, Food Color, Cooling Rack
*The amount of water and super washing soda will vary depending on the size and amount of leaves. I would suggest using one part super washing soda to six parts water.
**Don't forget to click on the url at the bottom of this post for the full step-by-step tutorial with complete photos.**


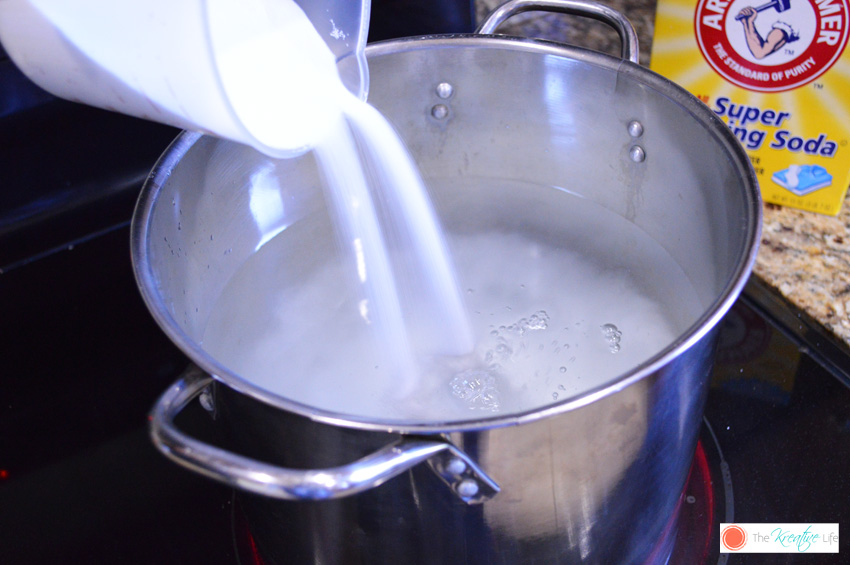
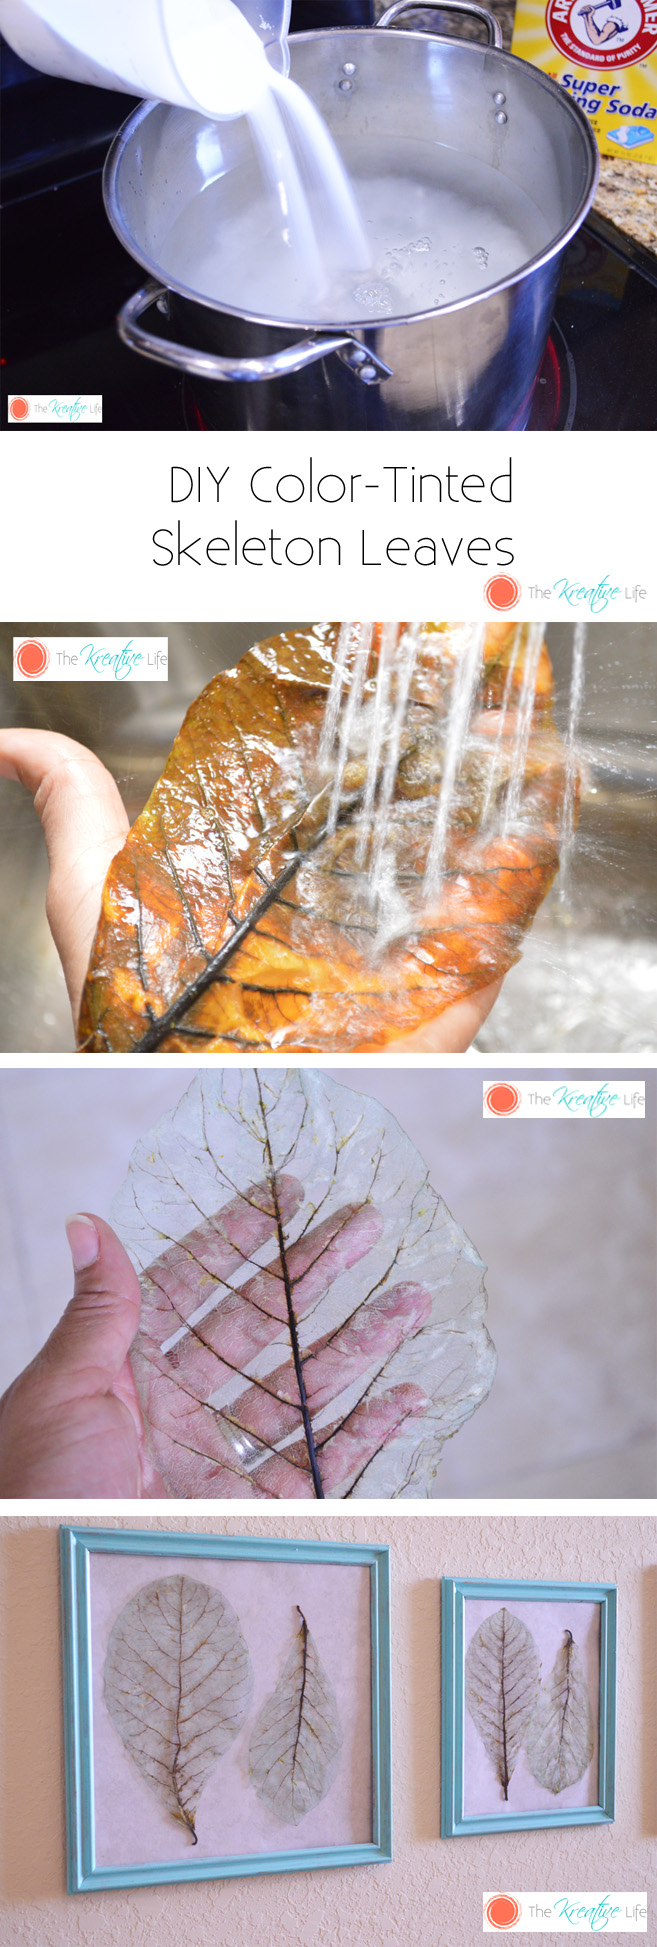
In a well-ventilated room, mix water and super washing soda in pot and bring to a boil.

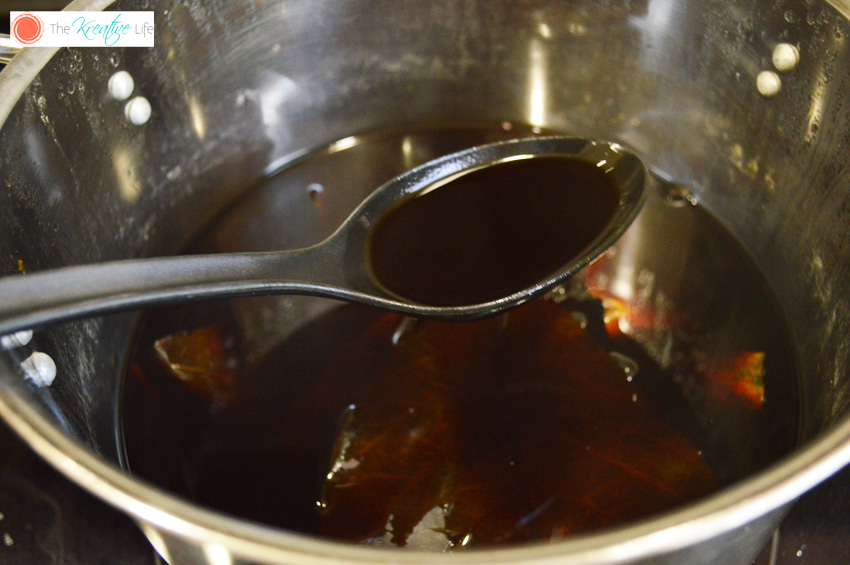
Lower the heat to a simmer and add
leaves. Allow the mixture to simmer for 2-3 hours. After the 2-3 hours,
the water will look very murky.

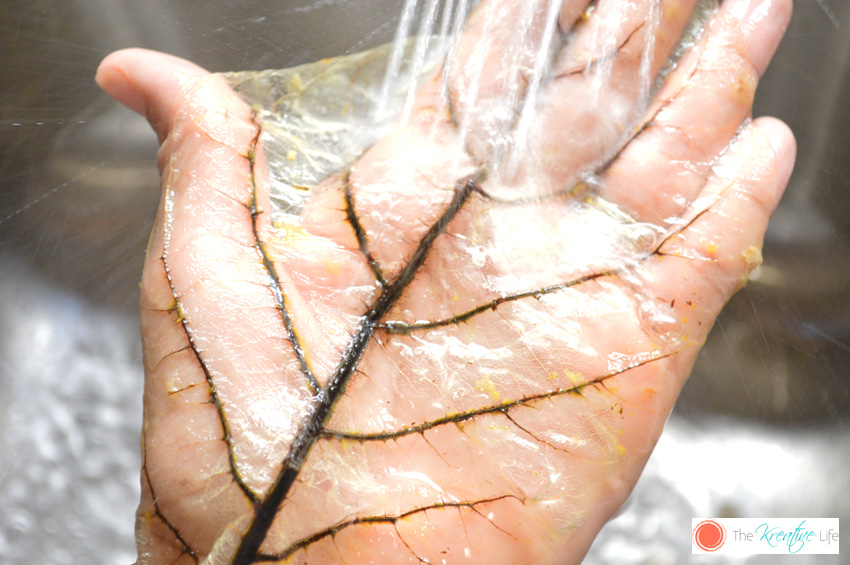
Now, this is where I did things a
little differently. Instead of using the brush to remove the skin of the
leaf, I placed the leaf flat on my hand and ran it under the sprayer on
my kitchen sink.

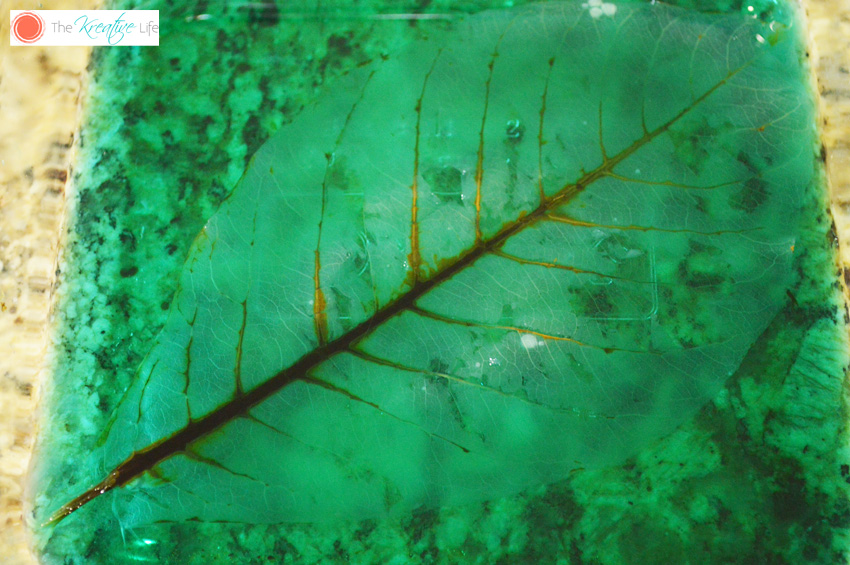
Mix water and food color in the shallow
dish according to the tint you want. Allow to sit for 10 minutes.
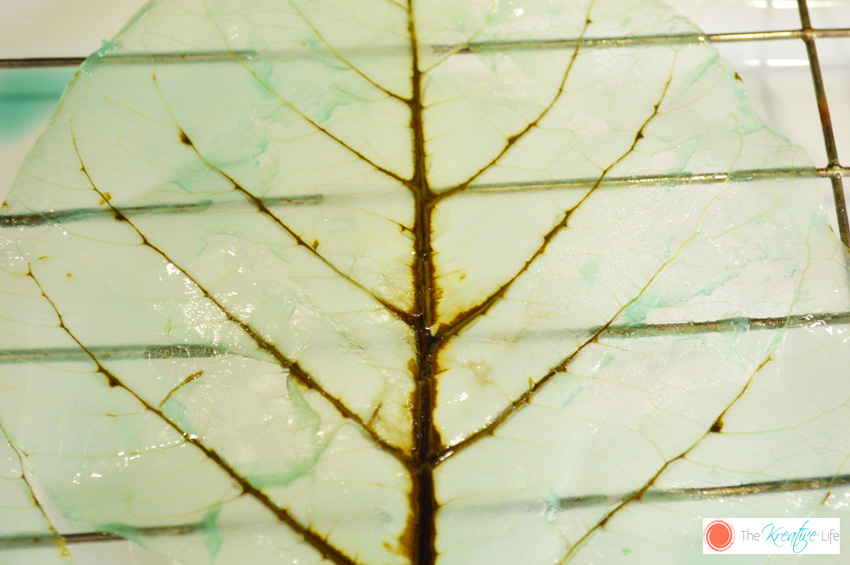
Remove from water and place on cooling rack. Allow to completely dry.

For the full step-by-step tutorial with complete photos, click on the url below.

I found a tutorial on Pinterest, but after the cooking part, it
seemed way too time consuming having to gently brush the skin of each
leaf off with a tiny little brush (I’m so impatient), especially if
making big batches of skeleton leaves.
I found these big sturdy leaves (I think they’re some type of palm
leaf) in a park near our house and decided to try them out. I had to
make sure the leaves were waxy and veiny because they work the best.
Here is my step-by-step tutorial on how I made these beauties. Enjoy!
**(Print Instructions Here)**
What You Need: Waxy Leaves, Large Pot, Water (I used 12 Cups), Super Washing Soda (I used 2 Cups), Metal Tongs, Colander, Bleach, Shallow Dish, Food Color, Cooling Rack
*The amount of water and super washing soda will vary depending on the size and amount of leaves. I would suggest using one part super washing soda to six parts water.
In a well-ventilated room, mix water and super washing soda in pot and bring to a boil.
Lower the heat to a simmer and add leaves. Allow the mixture to simmer for 2-3 hours. After the 2-3 hours, the water will look very murky.

Using the tongs, place the leaves in the colander and run under cool water. (My leaves were pretty tough, so I don’t know if adding all types of leaves to the colander will work or if you’d have to rinse them individually if they’re more fragile.)
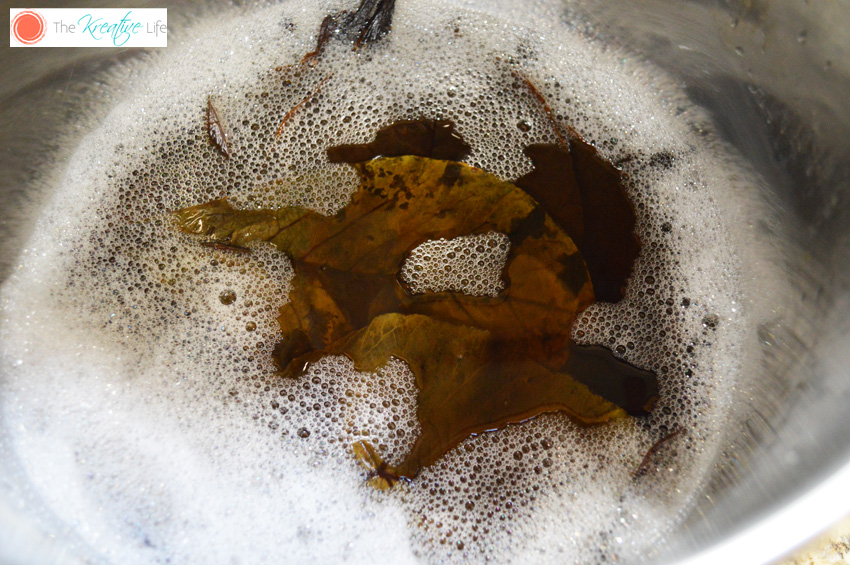
Pour out the murky water and rinse out the pot. Fill the pot with just enough water to cover the leaves. It doesn’t have to be as much used before when simmering them. I added ½ cup bleach. Place the leaves into the bleach water and allow to soak for 20-30 minutes. This will remove as much color from the leaf as possible.

Now, this is where I did things a little differently. Instead of using the brush to remove the skin of the leaf, I placed the leaf flat on my hand and ran it under the sprayer on my kitchen sink.
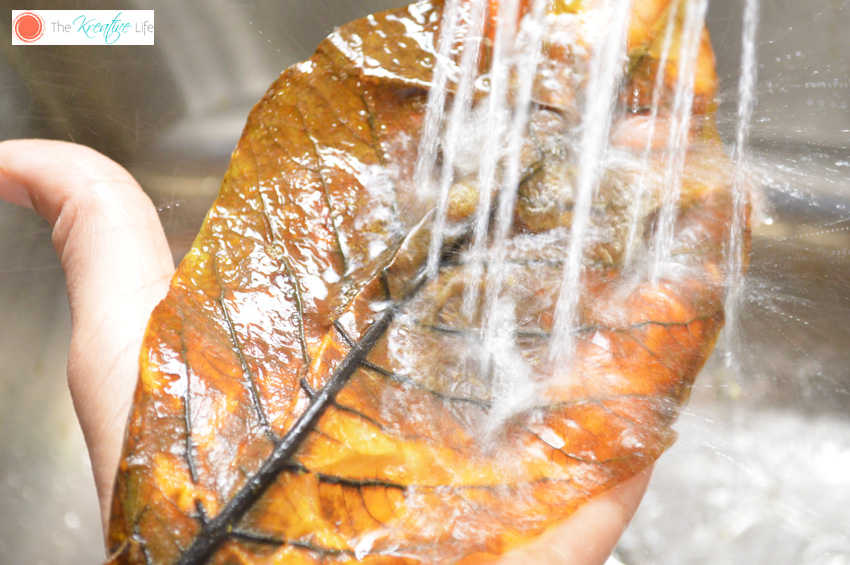
The skin started immediately coming off.

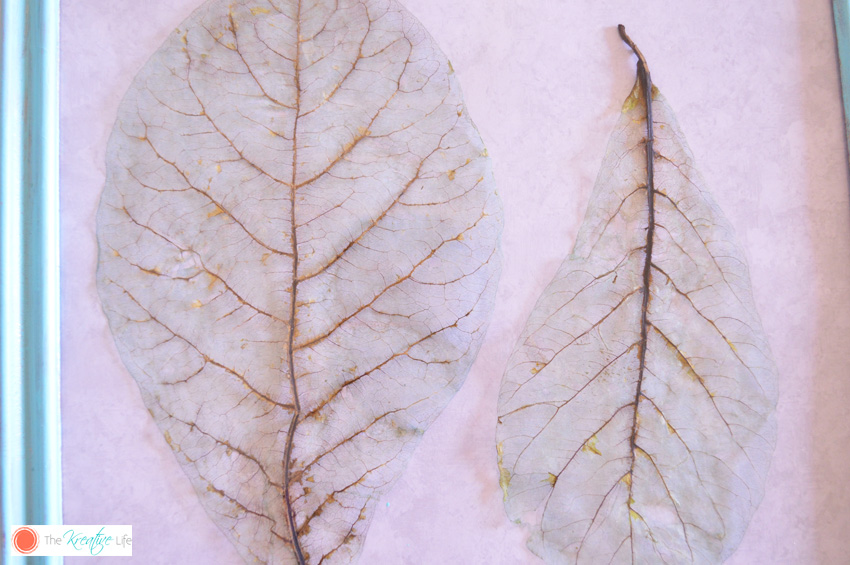
After about a minute under the water, the skin was completely removed. I’ll admit that some of the leaves tore a little, but I still kept them because it added a little character.
Mix water and food color in the shallow dish according to the tint you want. I used a blue and green mixture.
Allow to sit for 10 minutes. Remove from water and place on cooling rack. Allow to completely dry.

After mine dried, I painted a cheap frame and used a piece of scrapbook paper for the background.


https://www.blogger.com/blogger.g?blogID=5237451556780225383#editor/target=post;postID=1460486366949765936